Fallen arches don’t just affect how your feet look, they change how you walk, stand, and absorb impact with every step. Over time, that altered mechanics can lead to heel pain, shin splints, and knee problems that extend well beyond the foot itself. The good news? Targeted foot arch support exercises can rebuild strength in the muscles that hold your arch up, often reducing pain and improving function without surgery.
At Achilles Foot and Ankle Center, our podiatrists work with patients across Central Virginia who deal with flat feet and arch-related pain every day. We prescribe these exercises regularly, sometimes on their own, sometimes alongside custom orthotics or other treatments, because consistent arch strengthening produces real, measurable results when done correctly.
This article breaks down five exercises that target the small, often-neglected muscles responsible for arch support. Each one can be done at home with little or no equipment. We’ll cover proper form, sets and reps, and common mistakes to avoid so you get the most out of every session. Whether you’re managing a long-standing flat foot condition or noticing early signs of arch collapse, these movements are a practical starting point.
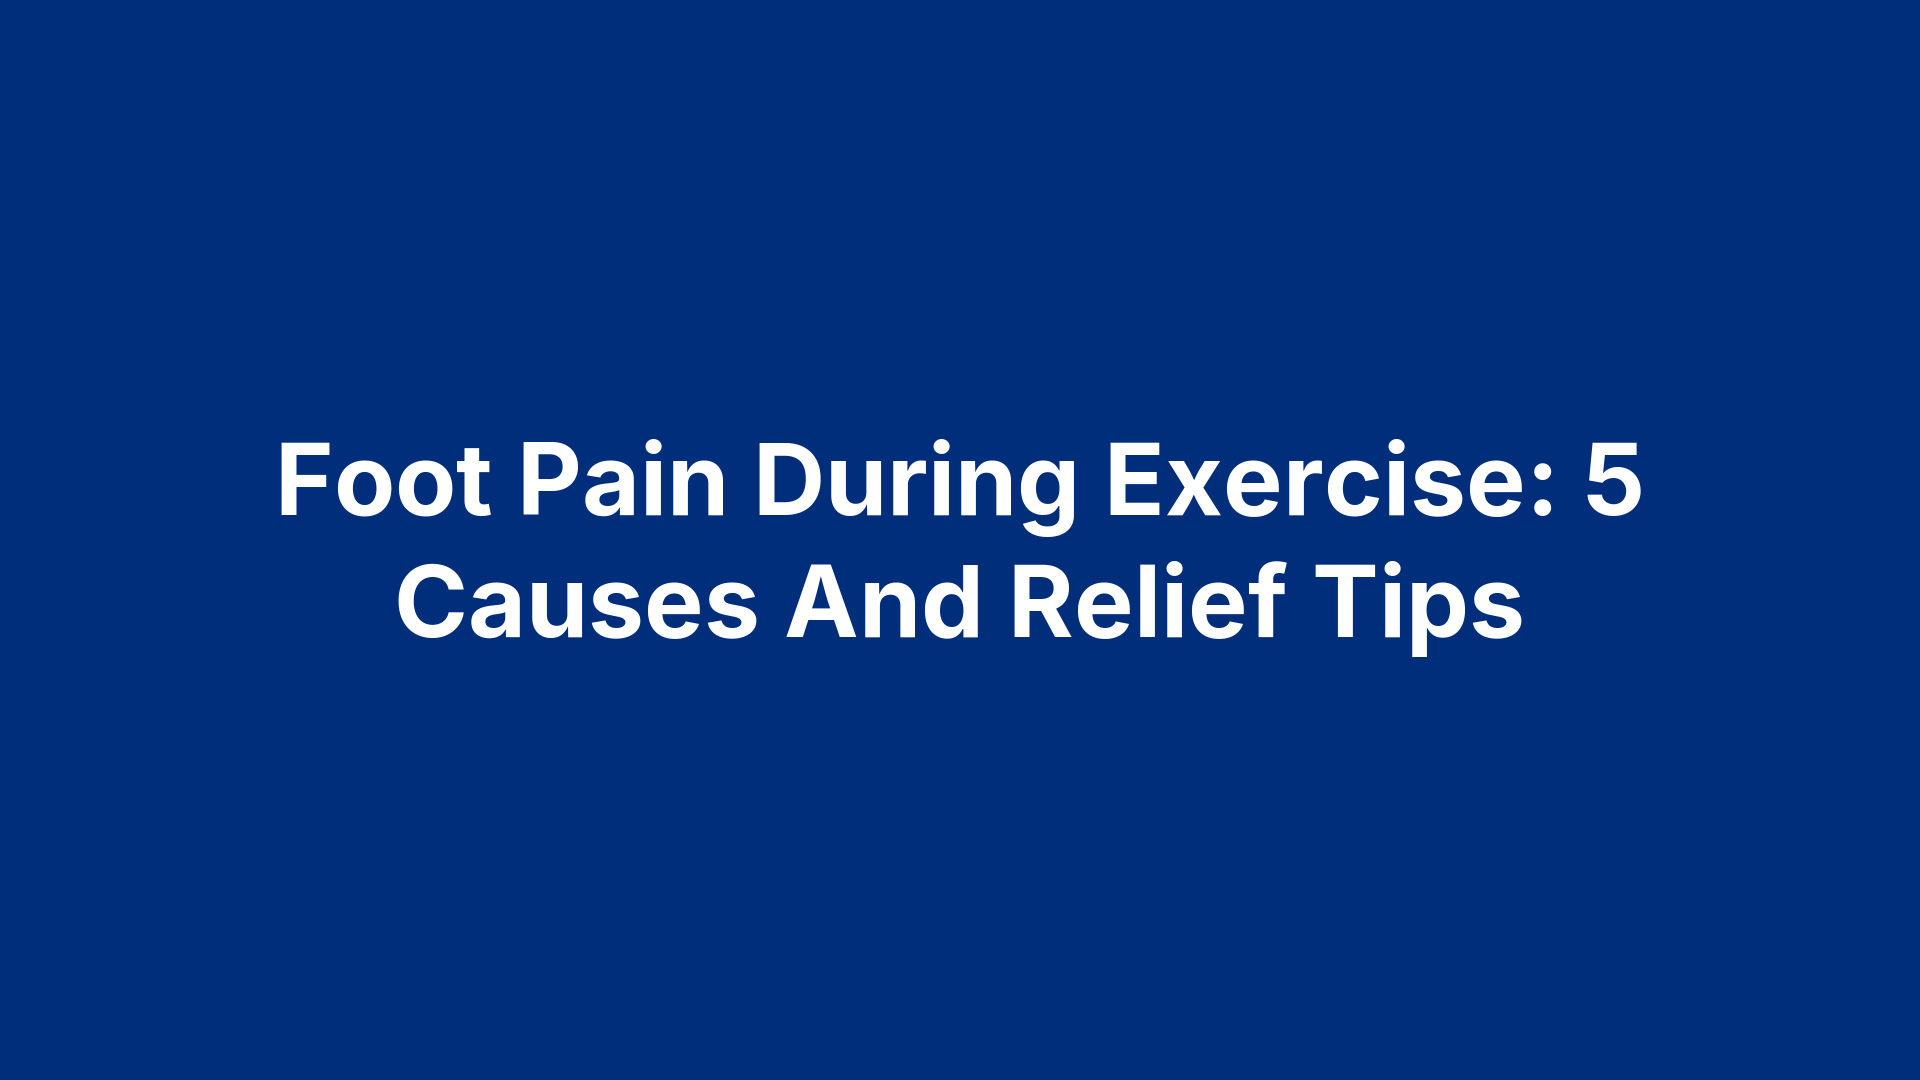
1. Short foot exercise
The short foot exercise is one of the most clinically supported foot arch support exercises you can do. It targets the intrinsic muscles of the foot, the small muscles that live entirely within the foot itself, and trains them to actively lift and hold your arch in place.
Why it supports your arch
Your arch collapses when intrinsic foot muscles weaken or stop firing correctly. The short foot exercise addresses this directly by shortening the distance between the ball of your foot and your heel without curling your toes. This approach activates the arch from the inside, building the kind of support that footwear alone cannot provide.
Strengthening your intrinsic foot muscles is foundational to any lasting arch support program, and the short foot exercise is the most direct path to get there.
How to do it with good form
Sit in a chair with your foot flat on the floor and your toes relaxed. Without gripping the floor with your toes, pull the ball of your foot toward your heel. You should feel your arch lift and dome upward slightly. Hold that contraction briefly, then release. Keep your ankle still and your toes long and flat throughout the movement.
Reps, sets, and how often
Perform 10 to 15 repetitions per foot, holding each contraction for two to three seconds. Do two to three sets per side. Three to four sessions per week gives your muscles enough stimulus to adapt without overloading them early in the process.
Common mistakes to avoid
Most people curl their toes instead of lifting the arch. Toe curling engages the wrong muscles entirely and produces little benefit. Watch your foot in a mirror during each rep to confirm your toes stay flat while the arch rises independently.
Progressions and easier options
Once the seated version feels manageable, try it standing with your full body weight loaded through the foot. For an easier starting point, practice on a firm surface with bare feet to sharpen the sensory feedback from the floor.
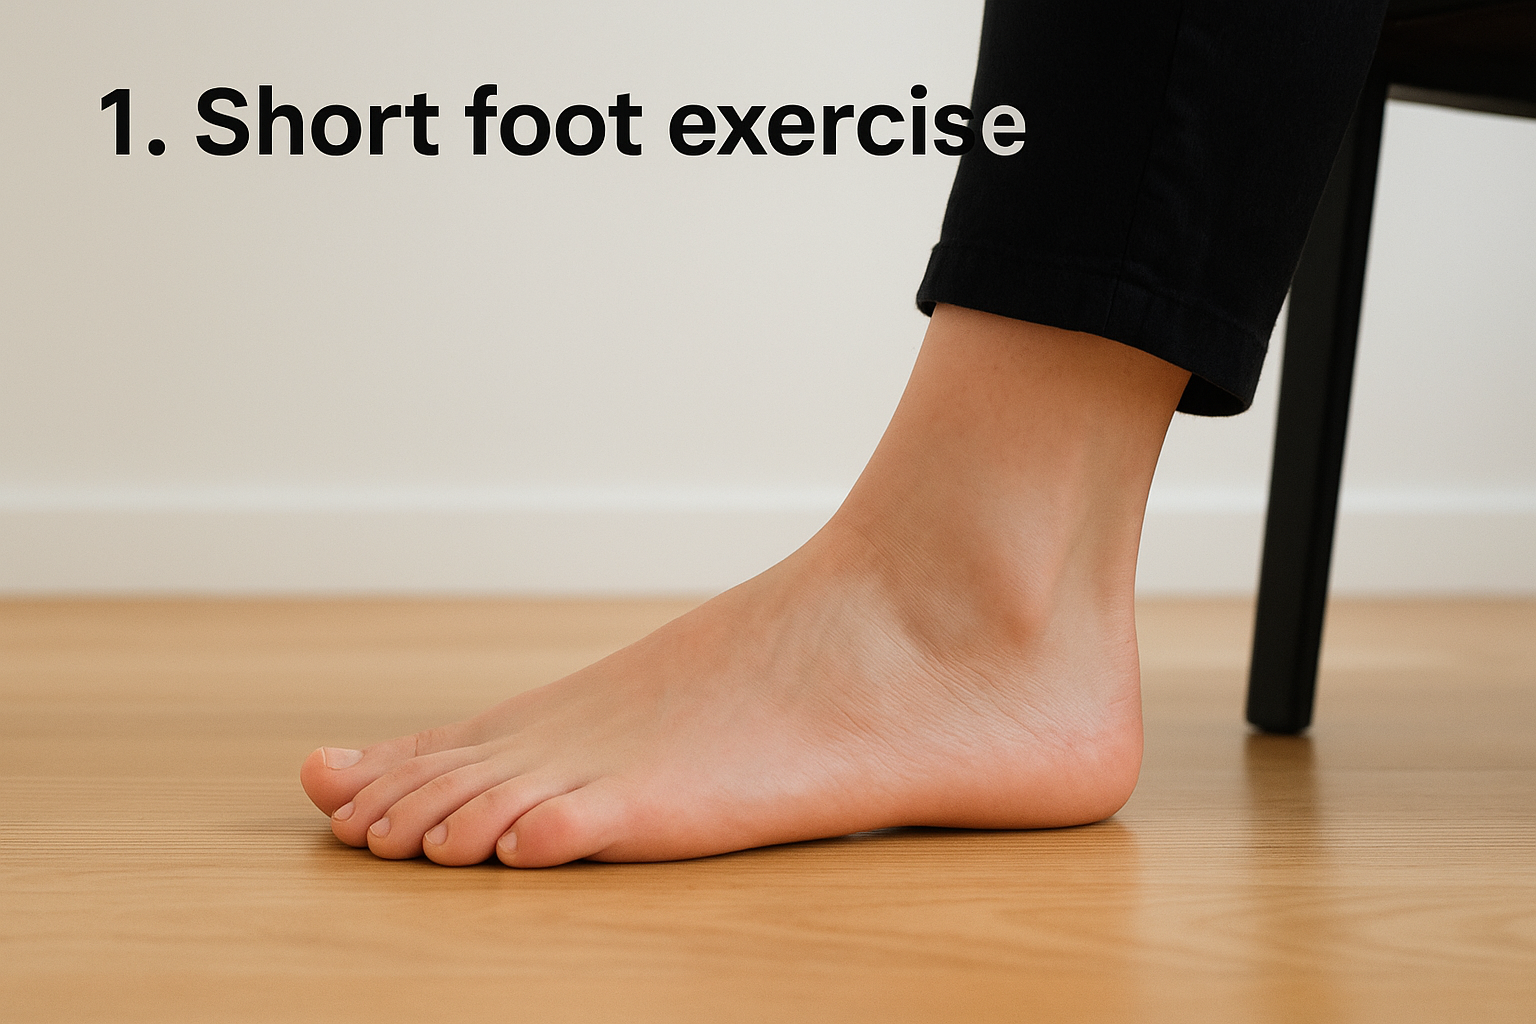
2. Toe yoga
Toe yoga trains your toes to move independently of each other, building neuromuscular control throughout the foot. Most people have almost no ability to lift their big toe without lifting the others, or vice versa, and that lack of independent control reflects weakness in the muscles responsible for arch support.
Why it supports your arch
Your arch relies on coordinated muscle activity across your entire foot. Toe yoga restores that coordination by forcing your nervous system to recruit specific muscles in isolation, which directly strengthens the intrinsic and extrinsic muscles that stabilize your arch during walking and standing.
Independent toe control is a reliable indicator of healthy foot muscle function and is worth building into any set of foot arch support exercises.
How to do it with good form
Sit with your foot flat on the floor. Lift your big toe while keeping your four smaller toes pressed down. Hold for two seconds, then reverse: press your big toe down while lifting the four smaller toes. Move slowly and deliberately through both positions.
Reps, sets, and how often
Do 10 repetitions per foot for each direction. Two sets per side, three times per week, gives your nervous system enough practice to build lasting control.
Common mistakes to avoid
Rushing through reps is the most common error. Slow, controlled movement builds neuromuscular connection, not speed.
Progressions and easier options
Once seated control feels reliable, practice standing to add load. Beginners can use their hand to guide toe position initially until the movement pattern clicks naturally.
3. Towel scrunches
Towel scrunches are a practical tool for building toe flexor strength and adding variety to your foot arch support exercises routine. The movement is straightforward, the only equipment you need is a small towel and a hard floor, and it directly targets the muscles responsible for keeping your arch active.
Why it supports your arch
The flexor muscles in your toes connect directly to the structures that hold your arch up. Strengthening these muscles through repeated scrunching trains your foot to maintain its arch shape under load, which matters most during long periods of standing or walking.
Building toe flexor endurance through towel scrunches gives your arch the muscular backup it needs when fatigue sets in later in the day.
How to do it with good form
Place a small towel flat on a hard floor and sit in a chair with your bare foot resting on top. Curl your toes to pull the towel toward you, then spread them out to release it. Keep your heel pressed down throughout the movement and avoid rocking your ankle side to side.
Reps, sets, and how often
Scrunch the towel 15 to 20 times per foot per set. Two sets per side, three times per week, provides enough volume to build real toe flexor strength over time.
Common mistakes to avoid
Lifting your heel during the scrunch is a common error that reduces the load on your arch muscles. Keep the motion slow and controlled rather than rapid and sloppy.
Progressions and easier options
Once the standard version feels easy, try scrunching a thicker or heavier towel to increase resistance. Beginners can use a lightweight cloth to learn the movement pattern before adding any challenge.
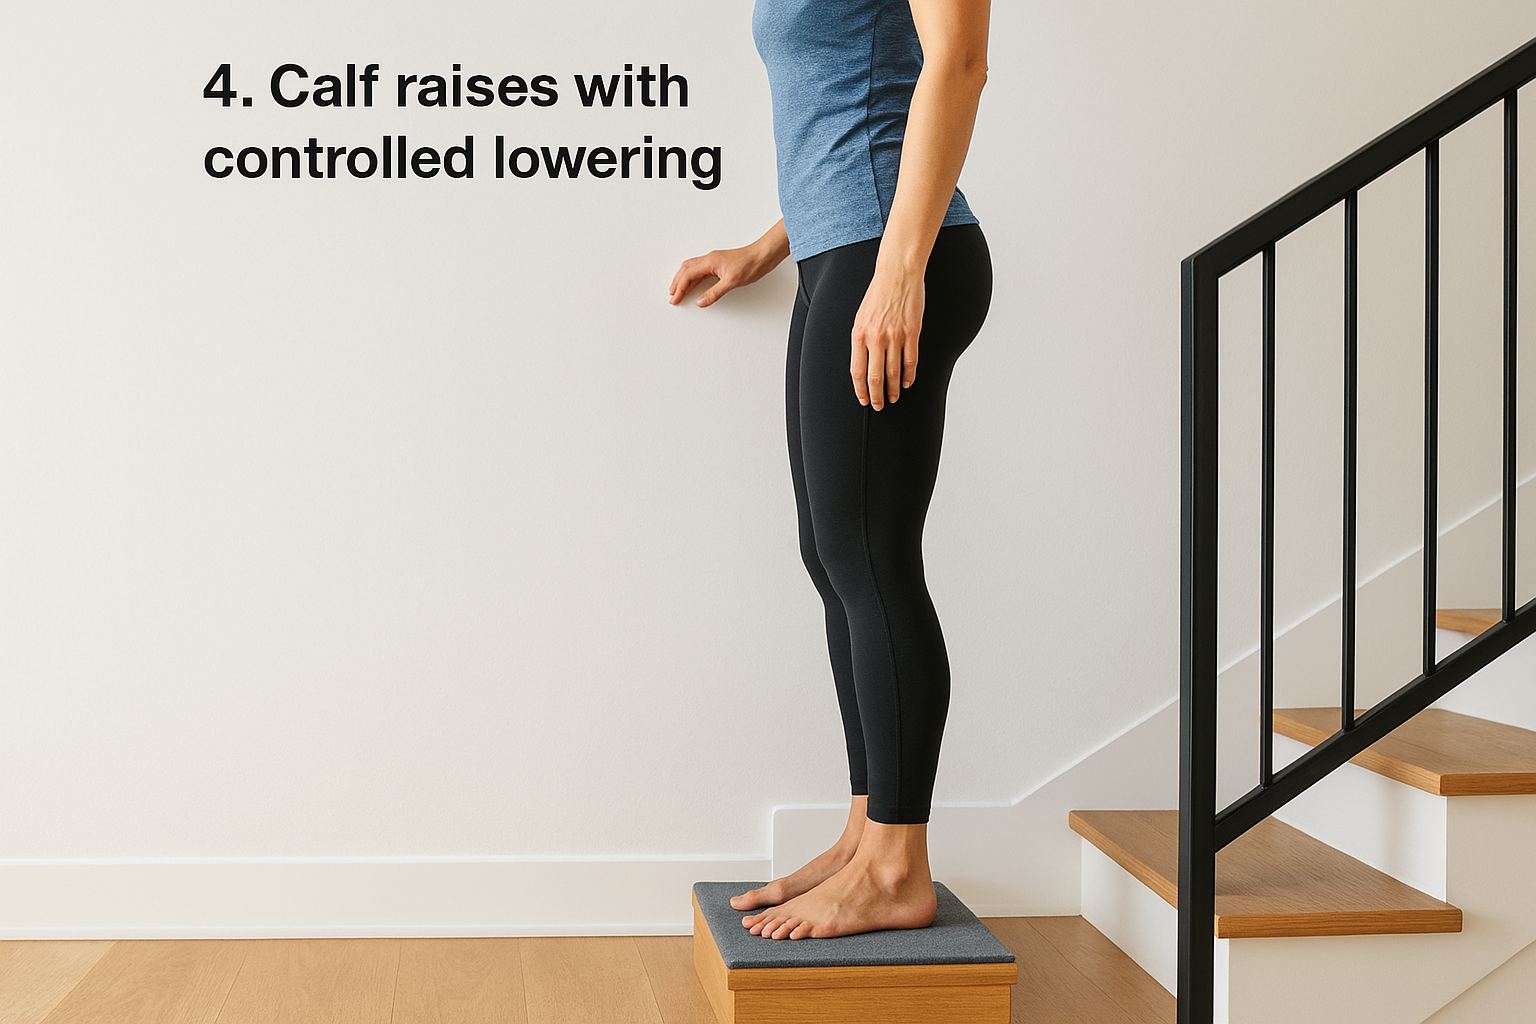
4. Calf raises with controlled lowering
Calf raises are a staple lower leg exercise, but most people rush the lowering phase and lose half the benefit. The controlled descent, called an eccentric contraction, builds strength in both the calf and the connective tissue that directly supports your arch.
Why it supports your arch
Your calf muscles connect to the Achilles tendon, which attaches to your heel and influences the plantar fascia running along the bottom of your foot. Strengthening and lengthening this chain through slow, loaded lowering reduces strain on your arch and improves its ability to absorb impact during standing and walking.
A strong calf-to-arch connection is one of the most overlooked components of effective foot arch support exercises.
How to do it with good form
Stand with the balls of your feet on the edge of a step and hold a wall or railing for balance. Rise up onto your toes, then lower your heels slowly below step level over three to four seconds. Keep your ankles neutral and avoid rolling inward on the way down.
Reps, sets, and how often
Perform 10 to 12 repetitions per set with two to three sets. Aim for three sessions per week to allow adequate recovery between sessions.
Common mistakes to avoid
Dropping your heel too fast eliminates the eccentric load entirely. Slow, deliberate lowering is where the real strength gains happen.
Progressions and easier options
Once you feel comfortable, move to single-leg calf raises for greater demand. Beginners can start with both feet flat on the floor rather than elevated on a step.
5. Single-leg balance with arch engagement
Single-leg balance with arch engagement is the most functional exercise in this list because it trains your arch to work under full body weight, directly mimicking the demands of everyday walking and standing.
Why it supports your arch
Standing on one leg forces every stabilizing muscle in your foot to fire simultaneously. Adding arch engagement during that balance trains your foot to hold its shape under load, which carries over to walking, running, and prolonged standing.
Training your arch to engage actively during single-leg balance is the closest you can get to real-world demand in a controlled exercise.
How to do it with good form
Stand barefoot and lift one foot slightly off the ground. Engage your arch with a short foot contraction, pulling the ball of your foot toward your heel without curling your toes. Keep your ankle neutral and avoid rolling inward.
Reps, sets, and how often
Hold each balance for 20 to 30 seconds per side. Complete two to three sets per foot three times per week, building toward longer holds as your stability improves.
Common mistakes to avoid
Letting your ankle roll inward during the hold defeats the purpose of the exercise. Keep your arch actively lifted rather than letting it collapse passively under load.
Progressions and easier options
Once stable, close your eyes during the hold to increase the challenge. Beginners can keep one finger lightly on a wall for support while building balance confidence.

Next steps if your arch still hurts
These foot arch support exercises work well for most people, but they are not a substitute for professional evaluation if your pain persists or worsens. Consistent soreness, sharp pain during activity, or swelling that doesn’t settle down after a few weeks of exercise are signs that something more than muscle weakness may be driving your symptoms. Flat feet can sometimes involve structural issues, tendon dysfunction, or nerve involvement that require clinical assessment to identify accurately.
A podiatrist can pinpoint the exact cause of your arch pain and build a treatment plan around your specific foot mechanics, which might include custom orthotics, physical therapy guidance, or imaging to rule out other conditions. Exercising through the wrong problem can delay recovery and sometimes makes things worse. If your arch is still giving you trouble, schedule a same-day appointment at Achilles Foot and Ankle Center and get a clear answer from a specialist.